Manual Fixed Pattern Noise Correction
The correction of fixed pattern noise is quite easy with the FLI Pilot
application. The following sequence of steps will guide you through the
process of correcting fixed pattern noise.
Generating a Master Dark Frame
1. Open the Stack Frames menu of Tester Routines. (Figure 1)
2. Enter the desired quantity of frames you wish to produce. 20 is
generally an acceptable number.
3. Select your desired exposure. The generated set of stack frames
can only be used to correct images with the same exposure as the
stack, so one will likely want to produce multiple stacks in the case of
multiple exposure durations being used.
4. The subsequent settings can be left at their default, however, you
can reference the Tester Routine page for information regarding
possible configuration.
5. Press start to begin capture and production of a stacked frame.
(Figure 2)
6. Save the stacked frame with File ⟶ Save As …
Correcting Fixed Pattern Noise
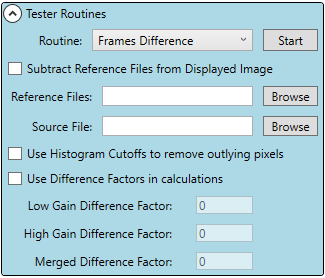
1. Enter the Frames Difference menu of Tester Routines. (Figure 3)
2. Use Browse to select a reference file. This will be the image
previously saved as a result of the stacked frame generation.
3. Select a source file, which will be the image you wish to remove FPN
from.
4. Confirm that neither the Use Histogram Cutoffs nor the Use
Difference Factors boxes are enabled. In a case where these settings
are required, reference the Tester Routine page for information
regarding their functions.
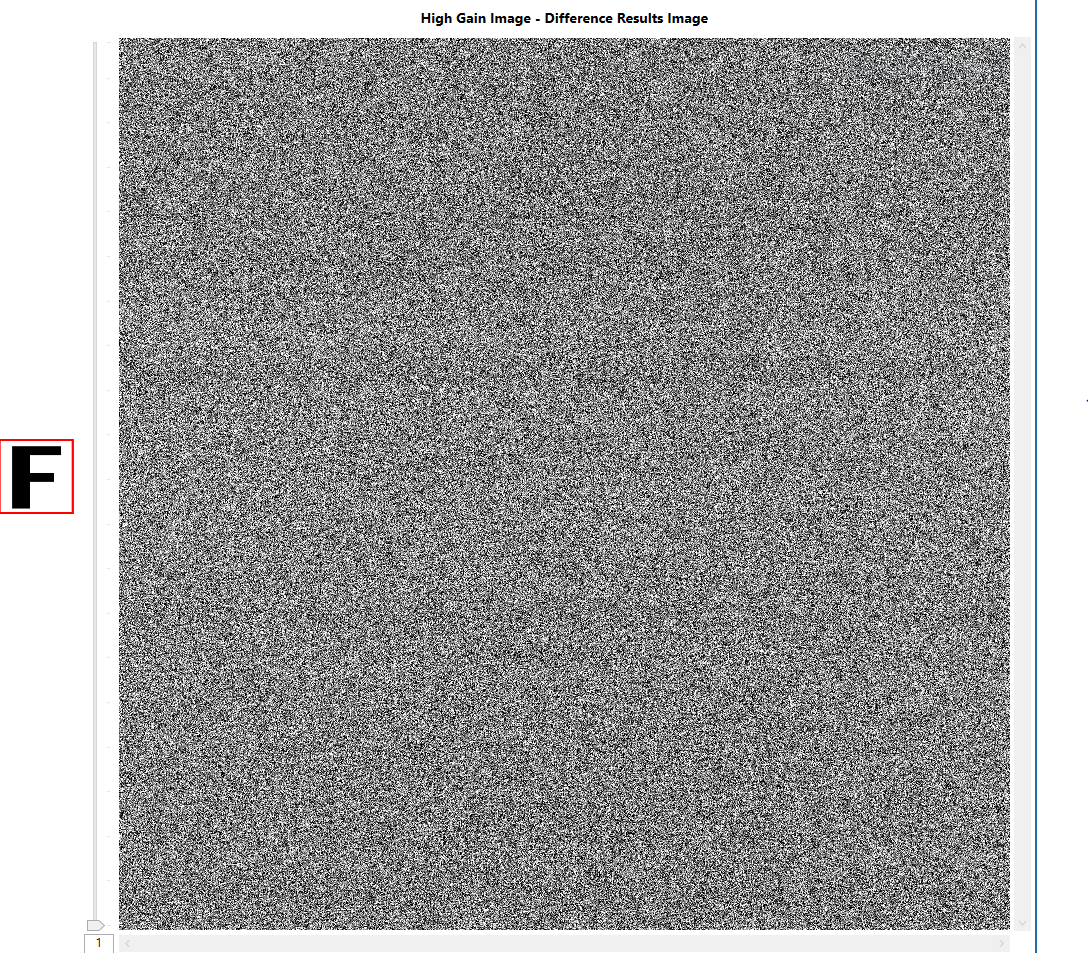
5. Select Start to generate the final image (Figure 4), which can then be
saved.
Finger Lakes Instrumentation, a division of IDEX Health & Science
1250 Rochester St.
Lima, New York 14485
1250 Rochester St.
Lima, New York 14485
Phone: 585-624-3760
Email: IHSKeplerSupport@IdexCorp.com
Web: www.flicamera.com
Email: IHSKeplerSupport@IdexCorp.com
Web: www.flicamera.com
©2023 IDEX Health & Science
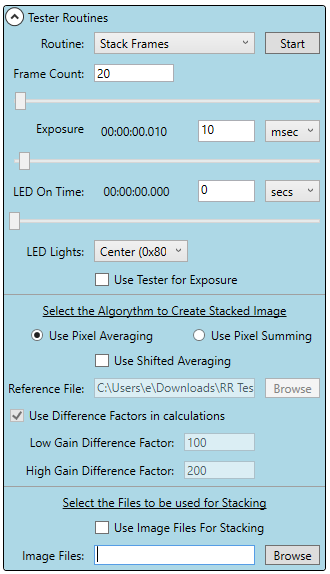
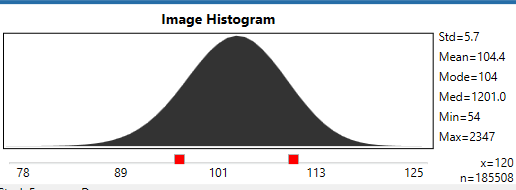
Figure 2: Stacked Frames
Figure 1: Stack Frames
Figure 3: Frames Difference
Figure 4: Final Image
Note:
These aspects of imaging must
remain constant between a master
dark frame and final image:
• Gain
• Exposure Time
• Sensor
• Temperature